Instructions
Cyanotype kit instructions
How to mix the sensitizer, coat paper or fabric, and make cyanotype prints from objects, photos or drawings with the Jacquard Cyanotype Kit.
Download the PDFAdvance prep
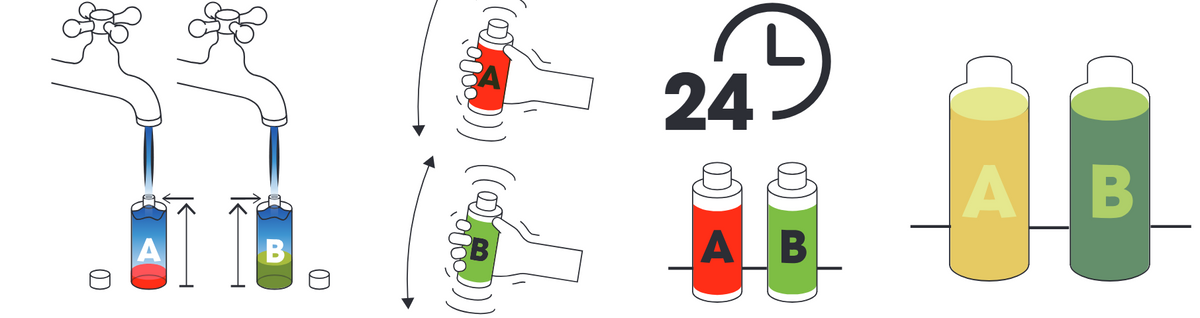
The kit comes with two bottles of dry chemistry. Mix them into stock solutions at least a day before you plan to print.
- Part A: 5.67 g (0.2 oz) potassium ferricyanide in a 2 oz (60 ml) bottle
- Part B: 13.46 g (0.47 oz) ferric ammonium citrate in a 2 oz (60 ml) bottle
1. Fill both bottles to the top with water. Warm water helps the chemistry dissolve faster.
2. Shake well.
3. Allow 24 hours for everything to fully dissolve.
4. Part A and Part B are stable for at least 6 months to 1 year.
How to mix
5. Make the cyanotype sensitizer by mixing equal amounts of Part A and Part B (1:1).
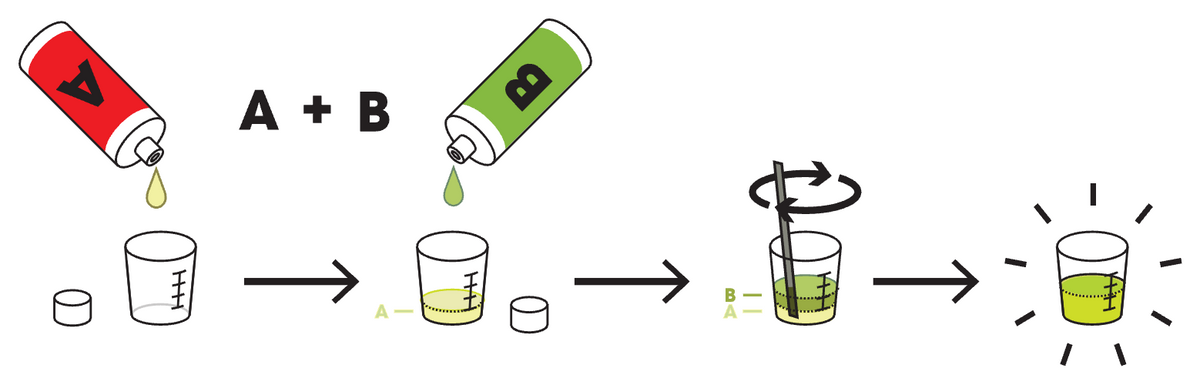
Start by mixing only a small amount of sensitizer. A little goes a long way, and once mixed it's only stable for several hours.
Coating surfaces
6. Pour the sensitizer into a bowl or other container that will not be used for food.
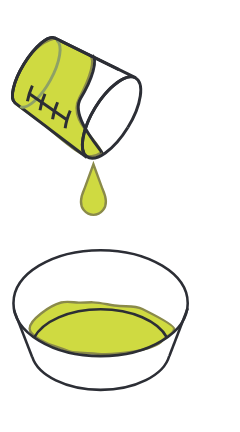
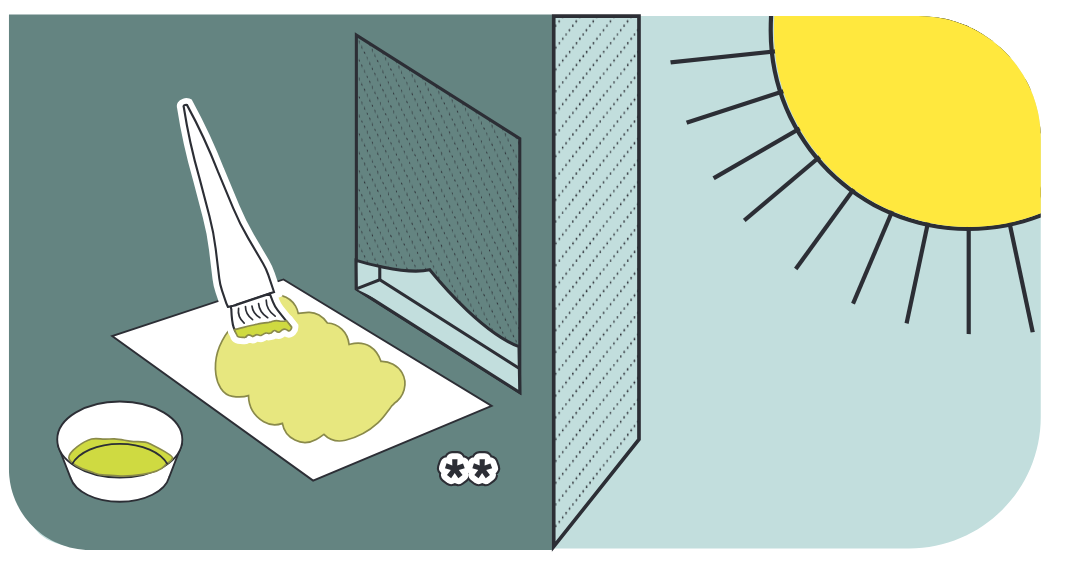
7. In subdued light, away from sunlight, use the hake brush to apply a thin coat of sensitizer to the paper provided or to another surface: paper, fabric, wood, leather, canvas and so on.
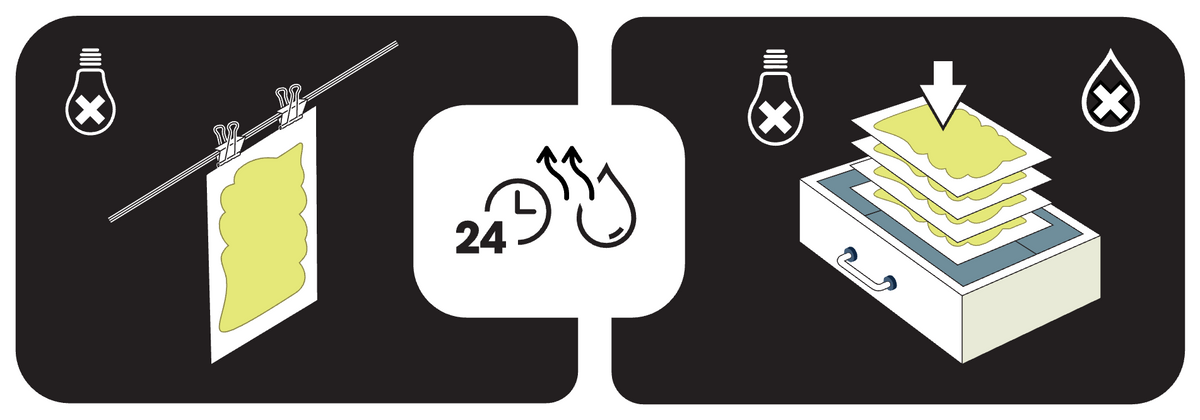
8. Place the coated paper in a dark area and allow 24 hours to fully dry. Coated paper can be stored for later use. Keep it in a dry, dark place.
Choosing a surface
The kit includes 10 sheets of Hahnemühle Platinum Rag fine art paper, the best option for cyanotype.
You can also explore natural fabrics, wood, canvas, leather and other porous or semi-porous surfaces. In general, non-buffered rag papers with minimal external sizing work best. Test first when possible for the best results.
Time to print
Choose one of three ways to make your print: objects, a photo or digital art, or your own drawing.
Option A: object-based prints
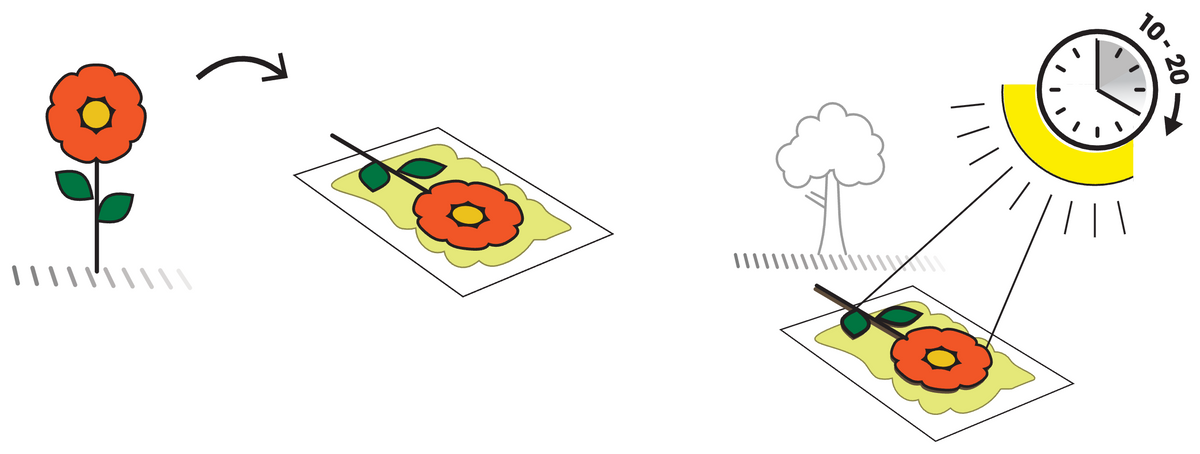
A1. Now it's time to choose the objects for your print. Anything that casts a shadow is up for consideration.
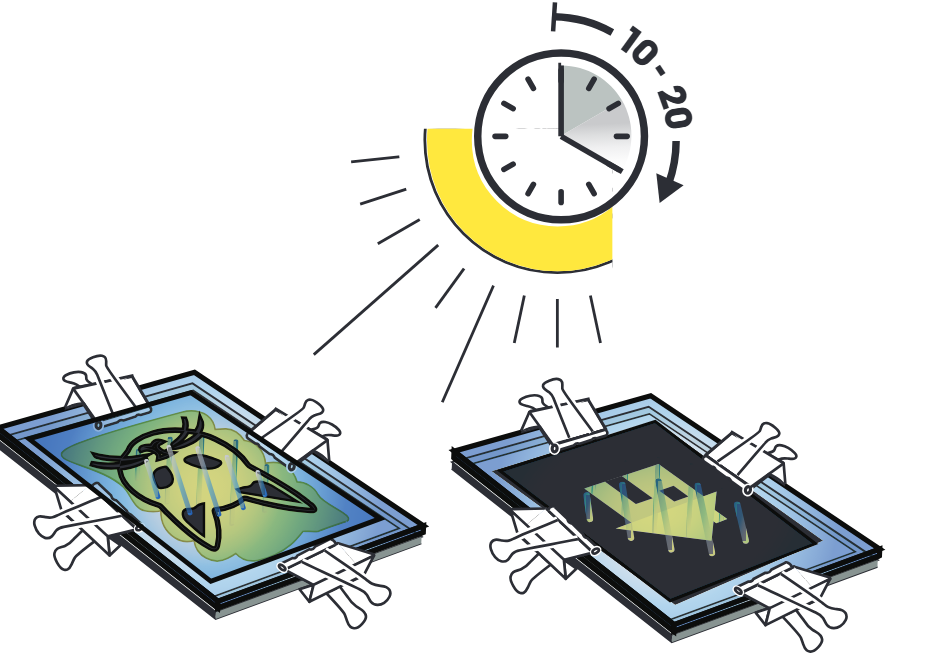
A2. Place the objects on the coated paper, then expose it to sunlight for 10 to 20 minutes, or until the exposed areas of the print turn bronze.
Then go to step 1 of rinsing and drying your print.
Option B: photo prints and digital art
B1. To create a film negative, first edit your image with software or our Negative Generator, then use your home printer to print the negative onto the SolarFast Film provided.
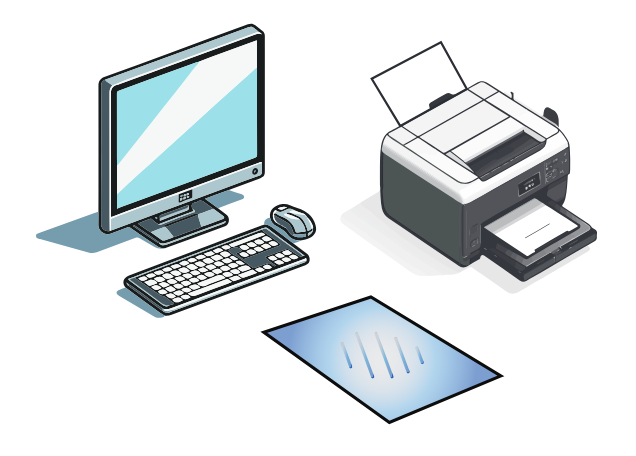
B2. Make the photo black and white, then invert it to a negative.
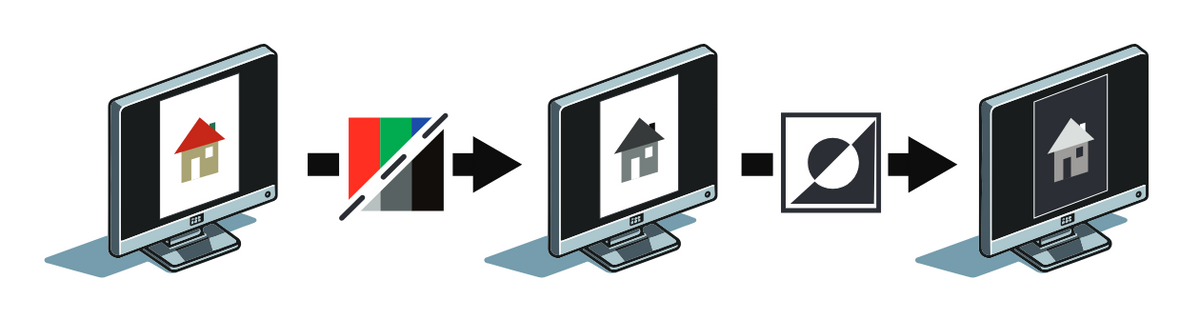
B3. The film only accepts ink on one side. Pinch a corner of the film with moistened fingers and print only on the side that feels sticky.
B4. Print the negative onto the SolarFast Film. Check your printer's instructions for how to load the page.
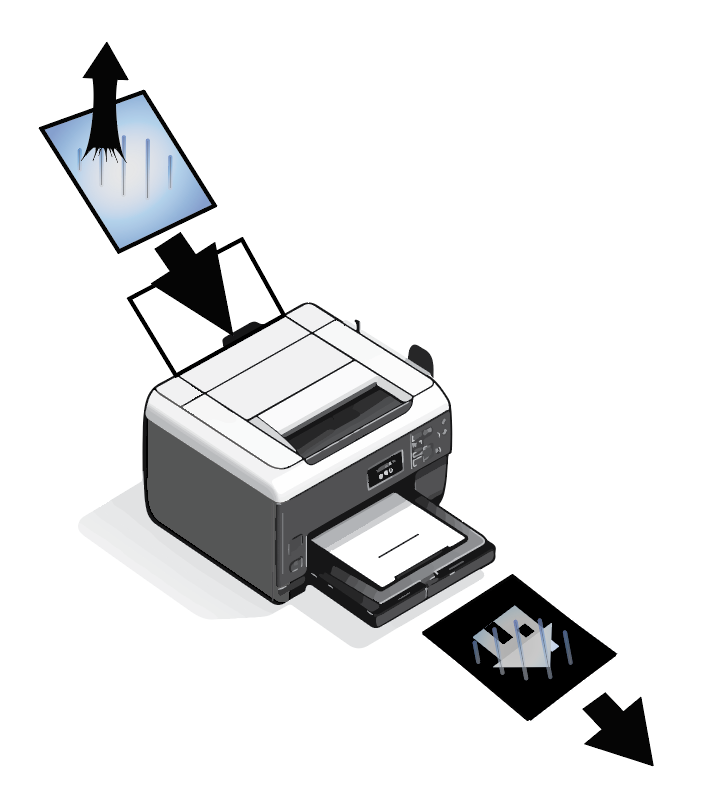
Then go to using the contact printing frame.
Option C: prints from drawings
C1. The film only accepts ink on one side. Pinch a corner of the film with moistened fingers and draw only on the side that feels sticky.
C2. Draw directly on the film with the Film Marker provided. You can make countless cyanotype prints from one drawing.

Using the contact printing frame
For options B and C.
1. Place the film negative or drawing on top of the coated paper, between the glass and the backer board, to keep it rigid and flush.

2. Use the clips provided to pinch the contact printing frame tight.
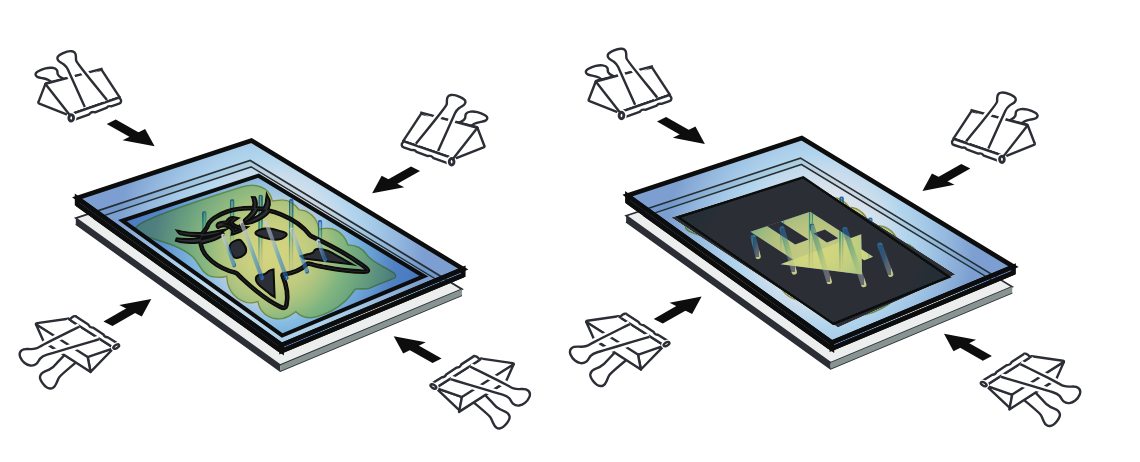
3. Expose to sunlight for 10 to 20 minutes, or until the exposed areas of the print turn bronze.
Rinsing and drying your print
For all options.
1. Rinse the exposed print in water for at least 5 minutes, changing the water now and then until it runs clear.
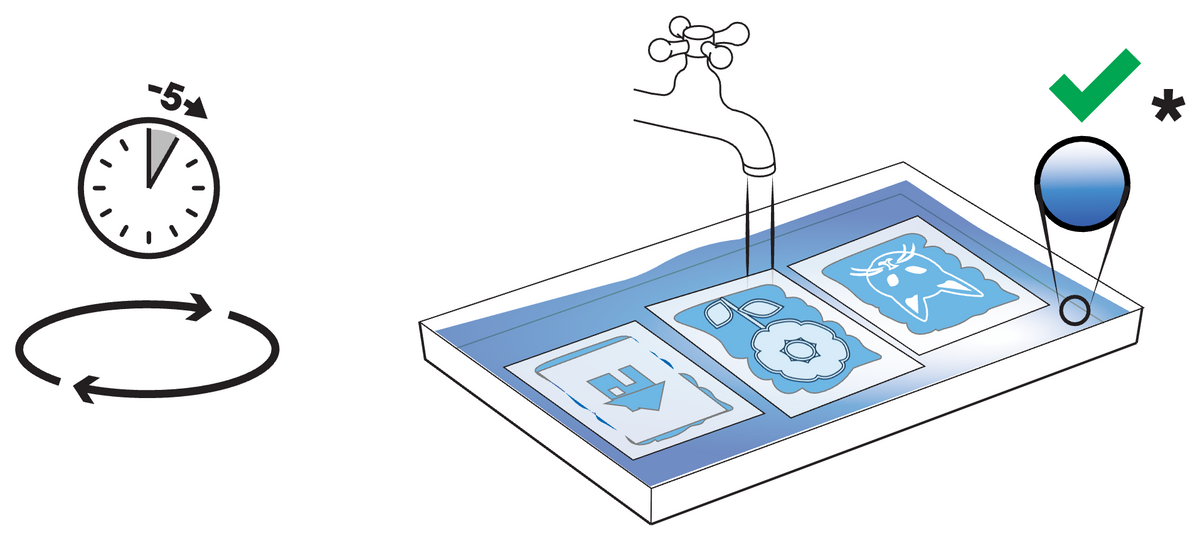
*Optional: To skip the 24 to 48 hour wait, add a drop of hydrogen peroxide to the final rinse bath. The print reaches its final tonal depth right away. Afterward, rinse it one last time.
2. Hang to dry.
3. Over 24 to 48 hours, the blue will continue to deepen until it reaches its final shade.
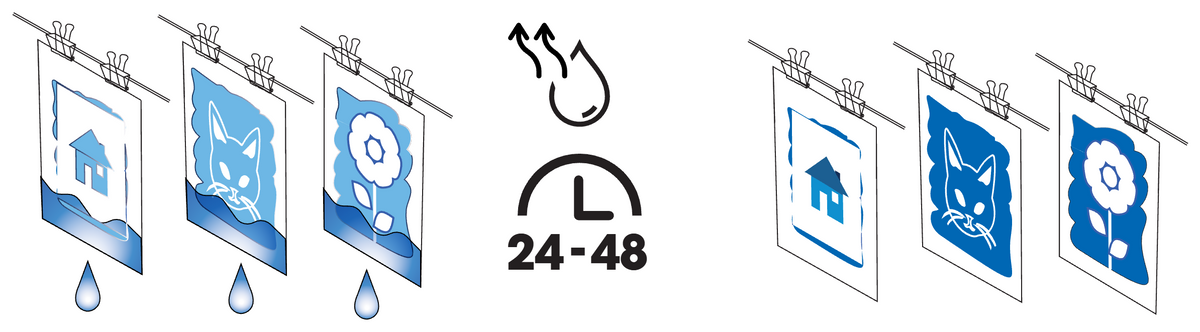
4. Enjoy your print!